
How to Create a Children’s Picture Book with AI
From your first story idea to consistent illustrations and a book prepared for publication
A children’s picture book begins with something worth sharing. It might be a character you have imagined for years, a story you tell your grandchildren, or a small everyday experience that a child will recognise. AI can help you develop that idea and create its illustrations, but the finished book still needs your attention to the story, the pictures and the way they work together cohesively.
There are quite a few decisions between the first idea and a book you would be proud to put into someone’s hands: Who is it for? What happens when the reader turns the page? Will the character still look like the same character halfway through? Where will the words fit without covering the best part of the picture?
It helps to approach the work as a book right from the beginning – and this article follows that process, from shaping the story through to preparing the finished pages. The principles apply whichever AI tools you choose and along the way, we will look at how Limnforge brings the planning, illustrations, text and production work together in one desktop project.
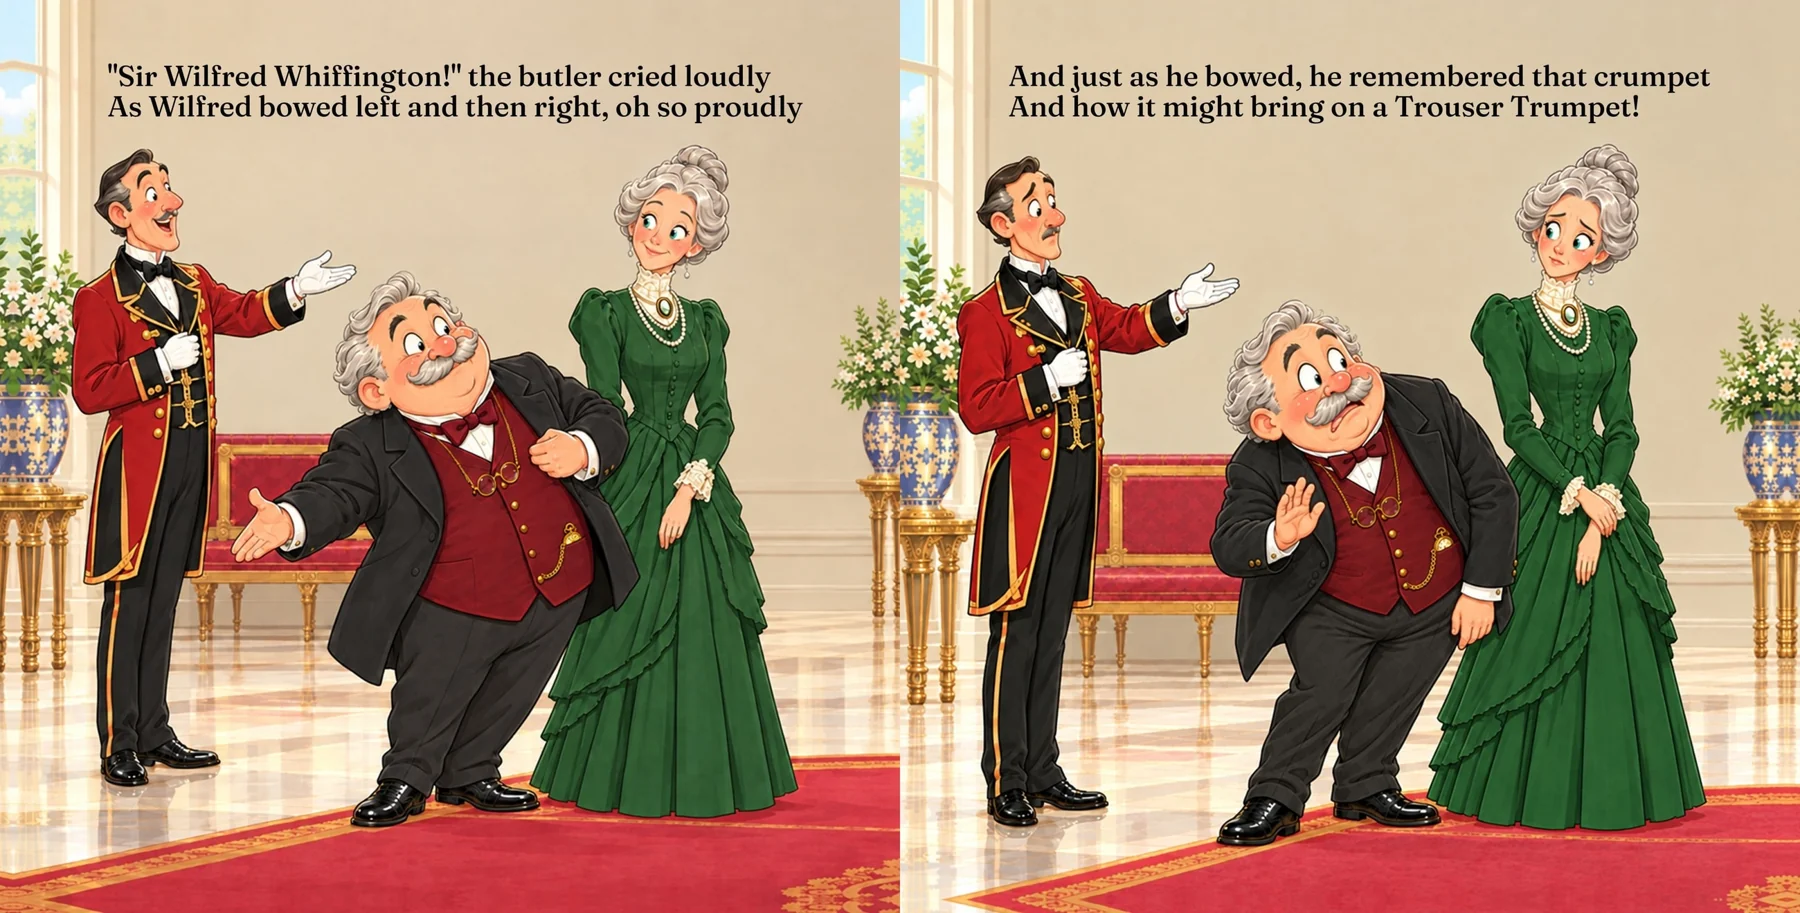
Begin with the child who will read your book
Before writing a detailed prompt or generating a picture, decide who you are producing the book for. Think about the child’s age, whether someone will read aloud to them, and what you hope they will enjoy or recognise in the story. A quiet bedtime story calls for different language and pictures than a lively adventure that invites children to join in.
Try describing your idea in a few ordinary sentences: Who is the main character? What do they want? What gets in the way? What changes by the end? You do not need a complicated plot, but you do need a reason for the reader to keep turning pages.
For example, a young rabbit who collects beautiful leaves might struggle to give one away to a friend. That gives you actions to illustrate and a feeling to explore. “A story about kindness” is a starting point; the rabbit’s choices are what make it a story.
An AI assistant can help you explore alternatives, expose a weak ending or adjust language that feels too grown-up. Give it your intended audience and the parts of the idea you want to preserve - and ask it to raise questions before rewriting everything. You can accept useful suggestions without losing the small details that made you want to tell this story in the first place.
Develop the story before committing to final artwork
Read your draft aloud. Listen for awkward sentences, repeated explanations and places where the action is difficult to follow. Consider what the illustrations can show; if the picture makes it obvious that the rabbit has dropped her basket, the words may have something more interesting to do than describe the basket falling.
You can use AI for a first draft, for editorial suggestions, or simply as someone to question your decisions. In each case, review the result carefully. Keep the wording that sounds right for your story, and check that the ending grows naturally out of what happened earlier on.
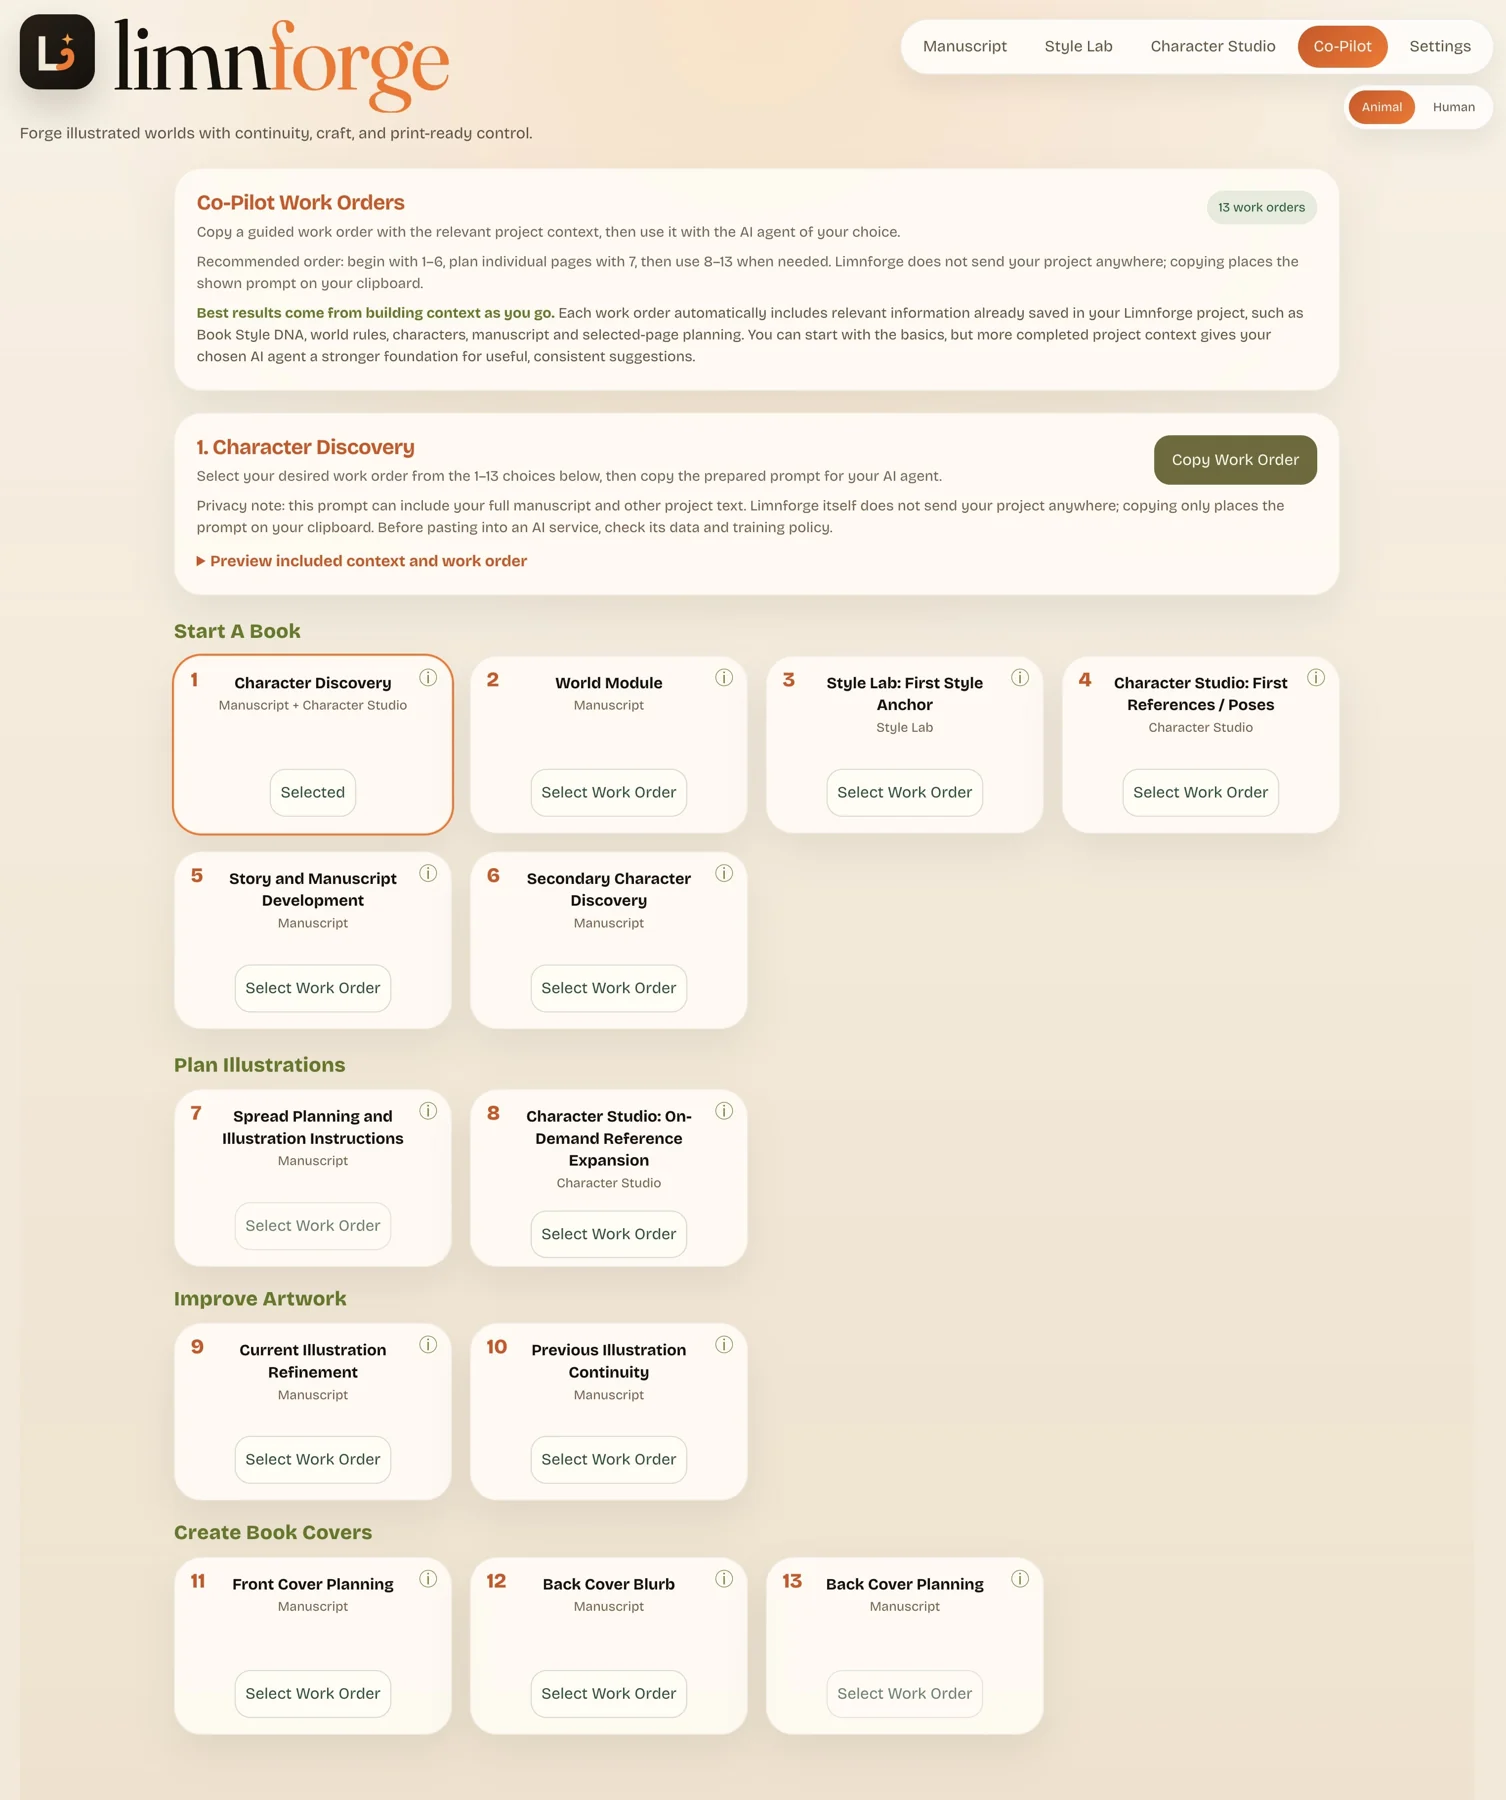
Limnforge keeps the manuscript available as project context, alongside your character, art style and book information. Its Co-Pilot feature can help you work through story development with your chosen AI assistant; you select a relevant Work Order, copy the prepared brief, paste it into the assistant and answer any questions it raises. You then review the returned material before bringing the appropriate field text back into Limnforge’s Illustration Instructions and Spread Planning fields.
That distinction matters: Co-Pilot prepares the context-aware brief from your project; the conversation takes place with the assistant you choose. It gives that conversation an extremely useful starting point, so you spend less time explaining the same book over and over again.
Decide on the book format and plan the page turns
Choose the intended book shape and size before producing final illustrations. A tall page, a square page and a wide double-page spread give you different spaces to compose within. Changing the format late can mean revisiting both the artwork and the text placement.
Limnforge currently offers eight Book Format choices: seven preset sizes and a Custom option. They include the 8.5 × 8.5 inch Children’s Picture Book format, Portrait 8 × 10, and Trade 6 × 9. The format sets the working page proportions and export dimensions, so choose one that suits both your story and your intended printer before creating final art. A square book can make room for a broad scene across facing pages; a portrait page may better suit a tall character or setting, or a Comic Book. Custom dimensions still need to meet the printer’s requirements.
Check the formats offered by your intended printer or publishing service before committing. Plan the title page and other introductory or closing pages as well as the story itself. Those pages take up space in the finished book even though they may not need the same kind of illustration.
Next, divide the story into pages and/or spreads. A spread is the pair of facing pages a reader sees together. Give each one a clear purpose: introducing a place, revealing a problem, showing a decision or allowing a quiet moment after something important has happened.
Look for opportunities in the page turns. You might show the rabbit hearing a rustle before the turn and reveal who is hiding in the leaves afterwards. If you show the answer too early, the words lose some of their effect.
In Limnforge, Book Format and project layout establish the working structure. Spread Planning lets you develop the story beat, illustration direction and planned page text for each part of the book. Co-Pilot can also help you work out how the manuscript should be distributed. Review that plan as a complete reading experience before investing heavily in individual images.
Before developing the cast, notice the Animal/Human toggle at the top of Limnforge. It sets the project’s broad Subject Type: an animal-led book receives guidance about species, anatomy and scale, while a human-led book emphasises faces, age cues, body proportions and costume. The choice also informs character work and the context carried into Co-Pilot briefs and image requests, so it is worth setting to match your main cast at the outset. It does not prevent you from including supporting characters of the other type, and changing it does not redesign characters or artwork you have already made.
Give your characters a recognisable identity
A useful character description records the details that should remain stable. Include proportions, face shape, hair or fur, distinctive markings, clothing and important accessories. Keep a temporary expression or pose out of that permanent description.
For our rabbit, a grey coat, one white ear tip and an ochre waistcoat might be identifying features. Looking worried beside a stream is a direction for a particular scene. Separating those two kinds of information makes it easier to change the action while preserving the character.
Create or choose a clear character reference and inspect it before approving it. An appealing image is not necessarily the right reference. Check the details you actually want to keep, and consider whether the design will remain readable in a wider scene or a different pose.
Limnforge’s Character Studio gives each character a record with visual descriptions and reference images. You can develop a cast, create useful poses and choose references for particular illustrations. Those records give later image requests a consistent source of character information, rather than depending on you to remember every detail in a new prompt.
You can upload your own character artwork as a reference. For professional illustrators and author-illustrators alike, that means starting with an original, approved design and using the image engine to explore new poses and scenes. This can speed up production across a book or series while you retain creative control. The uploaded art guides each request; it does not retrain the model or guarantee an exact replica. Only submit work you created or have permission to share with the connected image service, and review every result before publishing.
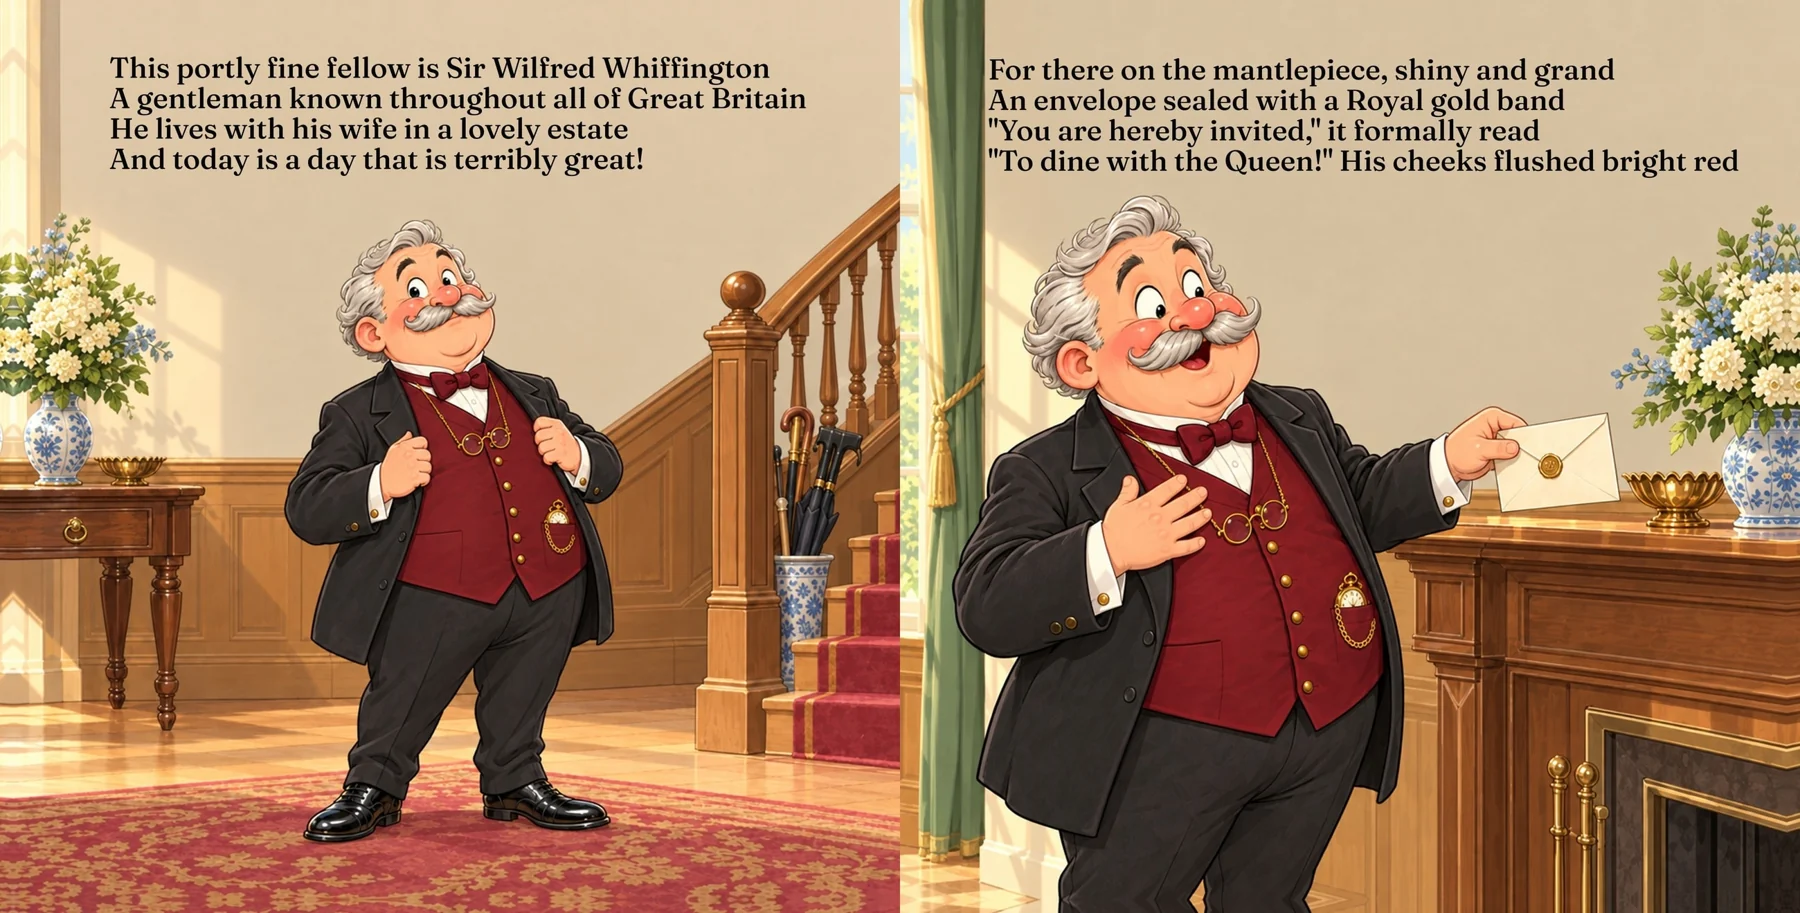
Our article How to Keep Characters Consistent Across AI Book Illustrations explores this stage in more detail, including a worked example with separate character and woodland-style references.
Choose a visual style and establish the story world
Think about how the pictures should feel to the child reading the book. Consider colour, line, light, detail and the treatment of surfaces. A gentle watercolour woodland and a bold graphic adventure can both be effective, but they make different promises to the reader.
Use references that support a coherent direction. Several attractive pictures do not automatically make a useful reference set if each suggests a different way of drawing faces, painting backgrounds or using colour. Use your own artwork or references you have permission to use.
The world needs consistency too. If the rabbit returns home several times, decide what her doorway looks like and how large it is beside her. If a red basket matters to the story, record its appearance. These are easy details to overlook until two otherwise good illustrations disagree.
Limnforge keeps these decisions in related parts of the project. Book Style DNA describes the overall visual treatment. The World Module records recurring locations, materials and other facts about the setting. Style Lab and Style References help you explore and establish the look you want to carry through the book.
Book Style DNA gives you 20 Base Style choices, from Warm Whimsical Watercolour and Soft Gouache Storybook to Cut Paper Collage, Storybook Cartoon and Comic Book. The Base Style sets the general visual language: how lines, colour and surfaces are handled. You can pair it with one of 22 Mood Overlays, such as Cozy & Heartwarming, Adventurous, Gentle Bedtime & Calm or Curious & Wonder-Filled, to shape the emotional tone. Four Rendering Intensity choices—Loose Inspiration, Balanced, Strong Style Adherence and Strict Style Enforcement—control how firmly the selected style and mood are expressed. These are starting directions, so test a few pages together and keep the combination that serves your story rather than relying on a menu label alone.
Together with Character Studio, these become reusable foundations for the illustrations. They also inform the relevant Co-Pilot Work Orders, helping your AI assistant build on the book you have already started developing. Review the context before copying a Work Order, especially after changing a character or an important world detail.
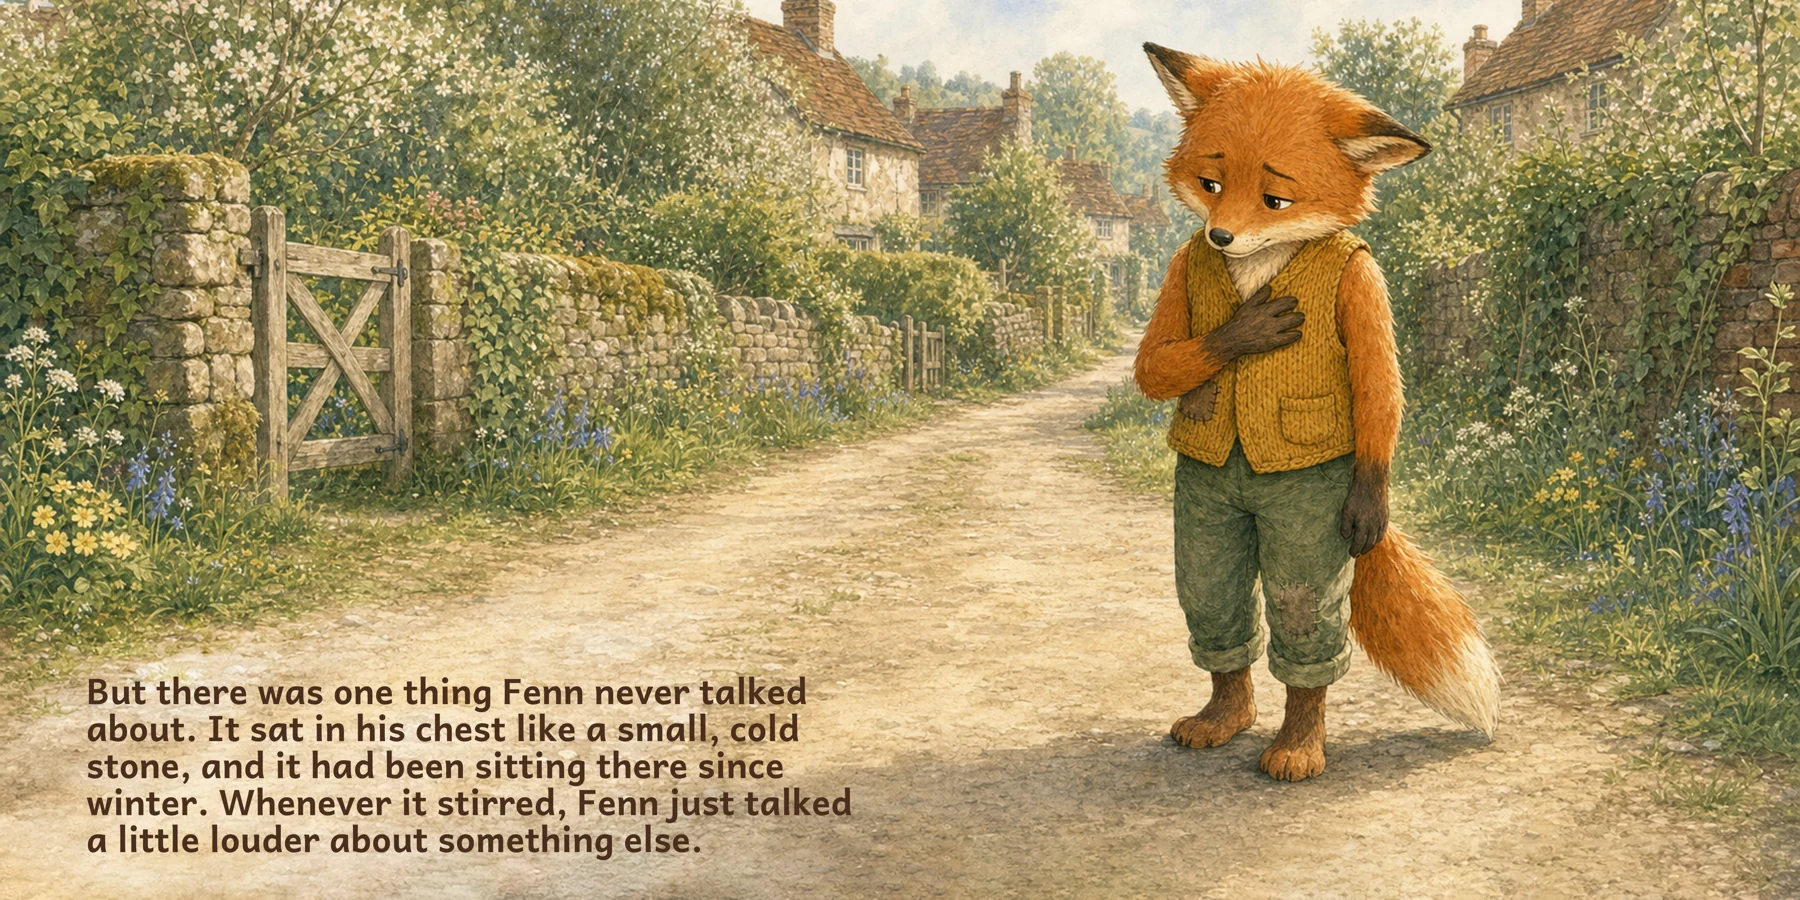
Plan each illustration around its job in the story
For each page or spread, decide what the reader needs to understand at that moment. Specify who is present, what they are doing, where they are looking and which objects matter. Then choose a composition that makes the action easy to read.
“The rabbit feels generous” leaves an image engine to invent the visible action. “The rabbit holds out her favourite red leaf to her friend, who reaches towards it” gives you something specific to evaluate. You can still leave room for expressive interpretation without leaving the story action undecided.
Plan the text space at this stage. A patch of softly painted sky may work well behind a short sentence; a crowded tangle of branches probably will not. Consider the centre fold of a spread, and avoid making a small but essential gesture depend on details disappearing into it.
Limnforge’s Spread Planning brings the scene instructions and text reservations together. Its prompt compiler combines the relevant saved book, world, character and page information into the request sent to the image engine. You can preview the compiled prompt before generating, check whether it expresses your intention and correct the source fields if something is missing or contradictory.
This is one of the practical advantages of working in a book-focused platform; you can concentrate on what changes in the next scene while the established information remains available to support it.
Generate a small sequence and review it as a book
Before producing every illustration, try a few different story moments. Include a closer view of the main character, a wider scene and an interaction with another character if the story needs one. This gives you an early opportunity to find weaknesses in the references or visual direction.
Review the images alongside each other. Does the character still belong to the same book? Is the world recognisable? Can you follow the action without having to explain it? Does the illustration leave usable space for the words?
Keep an eye on the quieter errors. An expression can change the meaning of a scene, a character looking in the wrong direction can break the connection between an action and its result, and a beautiful background can distract from the one object the child needs to notice.
Limnforge provides Current Illustration Refinement for changes to an existing image, and Previous Illustration Continuity for a new composition that should inherit visual information from an approved illustration. Choose the approach that suits the task. Describe the specific correction or continuity requirement, then review the new result rather than assuming the instruction was fully followed.
References and structured prompts make consistency easier to manage, but they do not remove the need to compare and refine. Allow room in your time and budget for those decisions. Limnforge uses your own OpenAI API account for image generation, with generation usage billed separately by OpenAI. Thankfully, image generation typically costs just a few cents per image when using an AI image engine!
Add the words as part of the page design
Once an illustration is working, place the final text and read the page again. Check size, line breaks, contrast and spacing. The words should be comfortable to read at the intended book size, with enough breathing room around them.
Keep your typography consistent unless a deliberate change helps the story. A decorative font may suit a short title but become tiring across several paragraphs. Dark lettering on a busy background may need a different position or a calmer area of artwork, rather than another visual effect.
In Limnforge, saved page text in Spread Planning helps establish space for the words before illustration. It does not automatically typeset the page. Text Overlay lets you bring that wording into editable text layers, then adjust the font, size, colour, alignment and position. The text remains separate from the generated artwork, so you can revise it without asking the image engine to redraw the whole page.
Read the complete book aloud again with the text in place. Line breaks and page turns can change the rhythm of a sentence. This is also a good point to ask someone unfamiliar with the story to read it and tell you where they hesitate or become confused.
Finish the cover and check the production files
Treat the cover as part of the same visual world. The character, colour and atmosphere should feel related to the interior, while the title needs to remain readable when the cover is viewed at a smaller size.
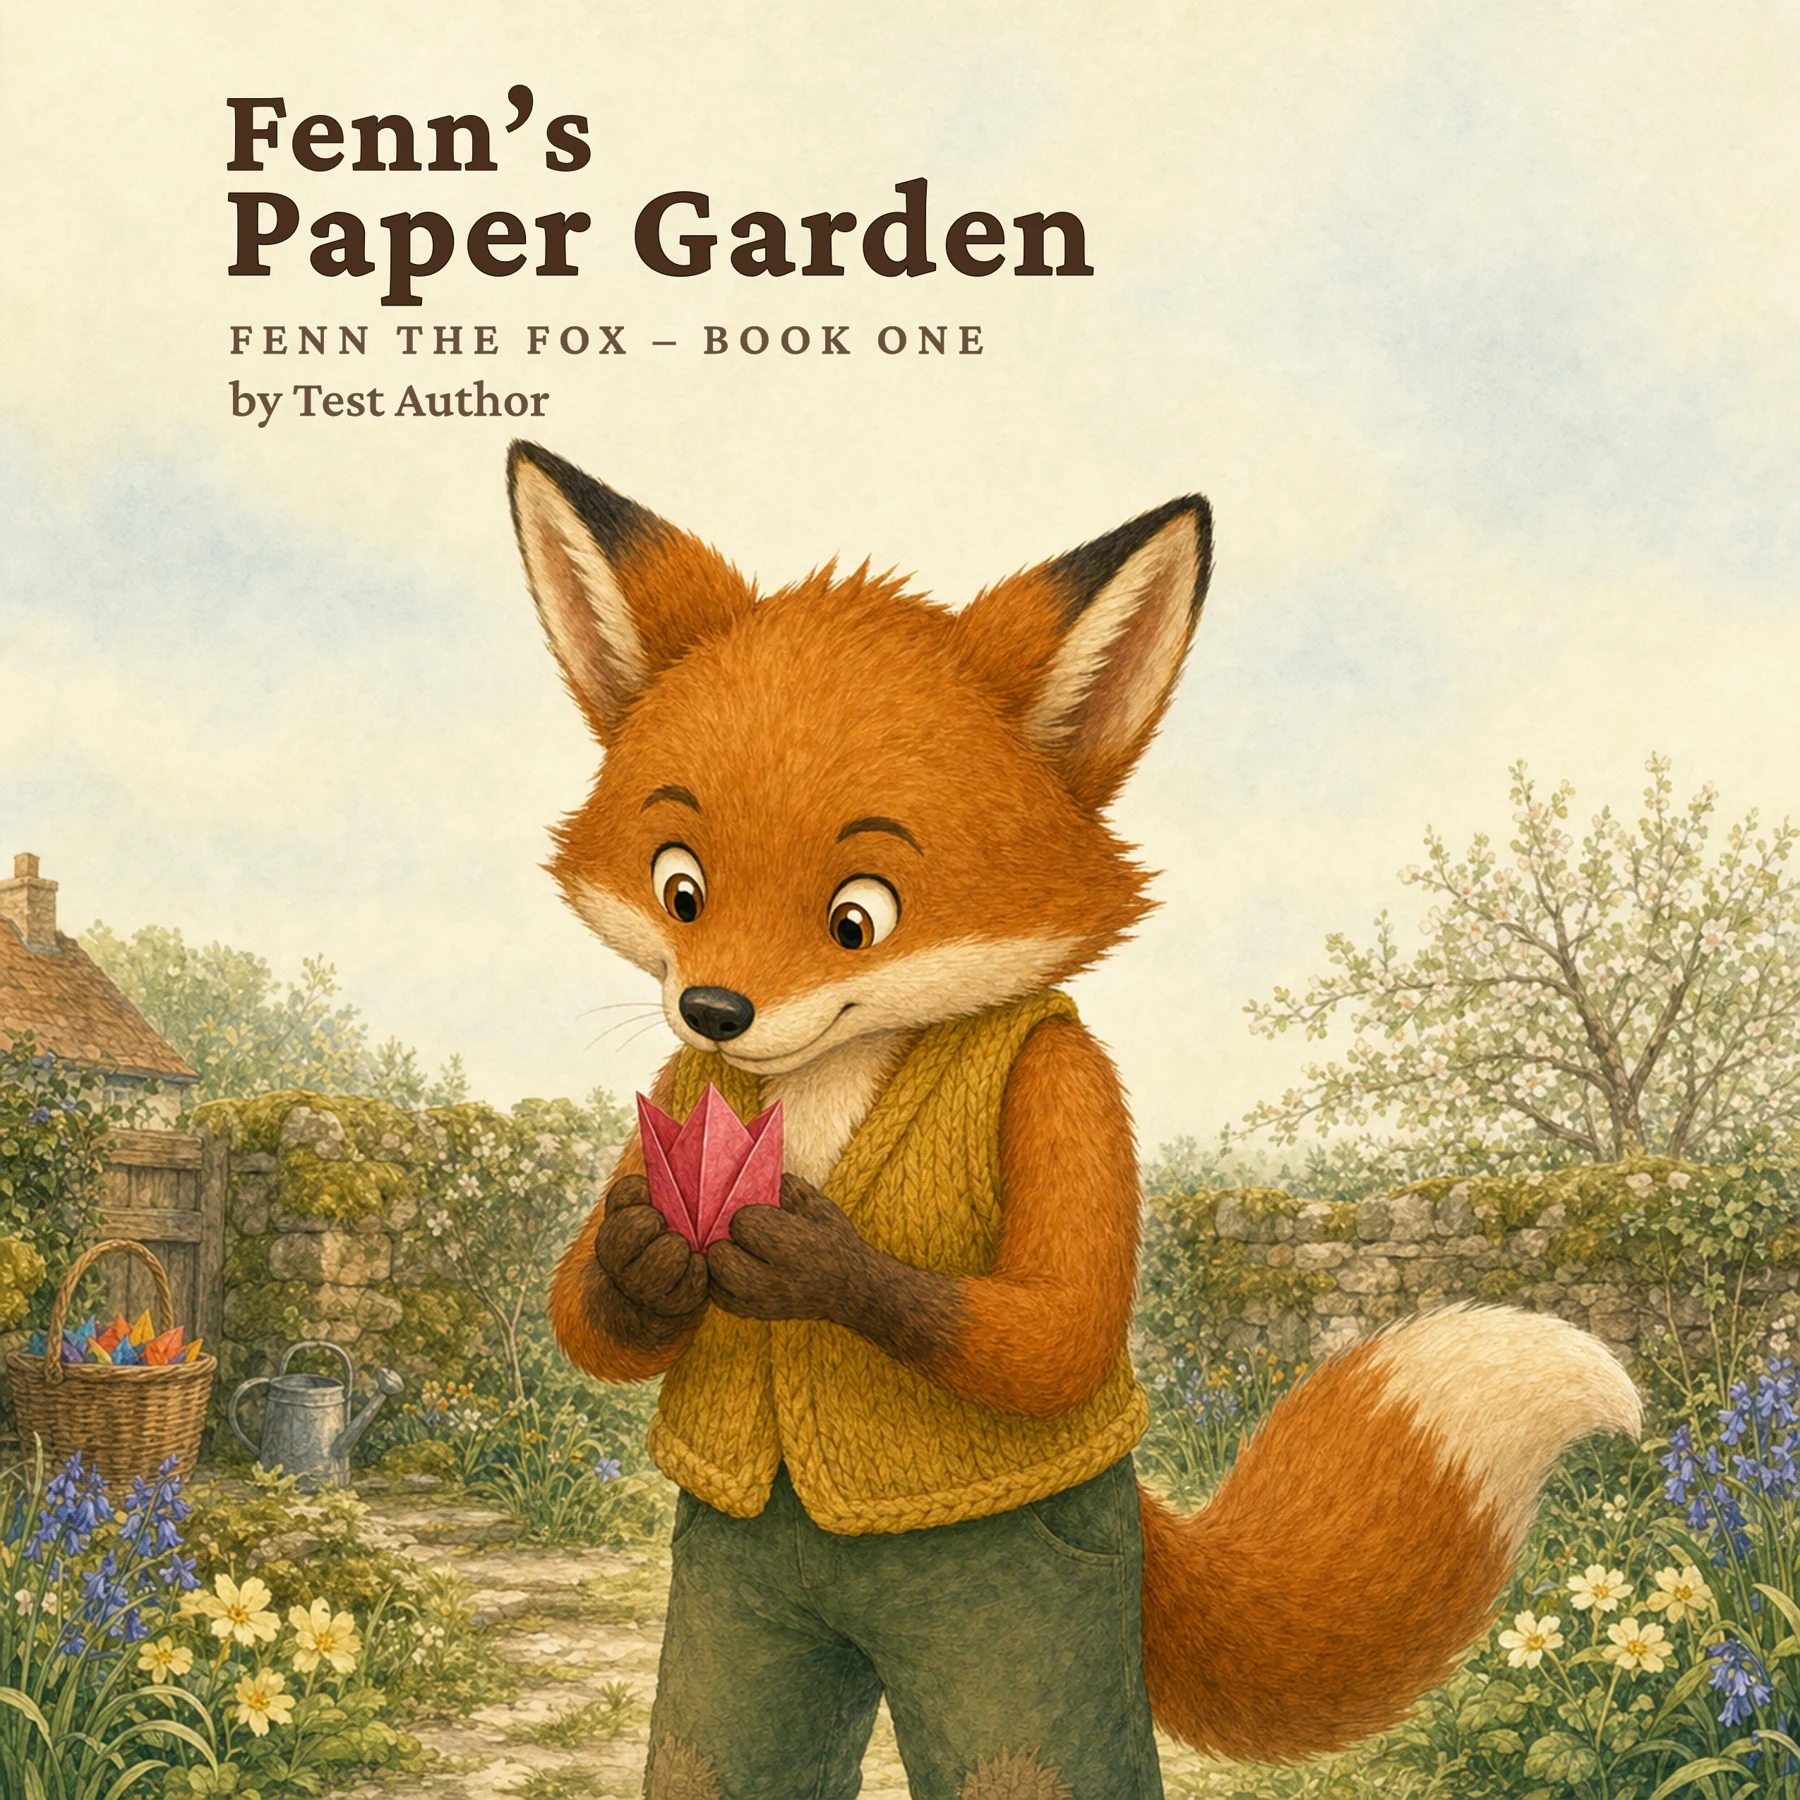
Limnforge supports front- and back-cover planning as well as interior pages. Its Commercial Export tools assemble approved artwork and text into separate print and eBook outputs. For print, Limnforge sizes the interior PDF to the selected trim format and adds bleed at the outside, top and bottom edges. It also prepares a separate full cover-spread PDF with the back cover, an estimated spine width and the front cover. The spine area is left blank for you to finish externally, and its final width should be checked against the printer’s template for your page count and paper choice.
The back-cover workflow can help you develop a blurb, then place the approved words as editable text. Limnforge reserves a clear space for the print barcode on the back cover. Before upload, inspect the assembled cover and interior PDFs at their actual size: confirm the blurb fits, the barcode space is clear, text stays within safe areas and artwork reaches the bleed edge. Your chosen publisher or printer still has the final say on eligible sizes, page counts, spine calculations and file acceptance.
Inspect the exported files, not just the working preview. Check every page for missing text, unexpected line breaks, awkward cropping and continuity errors. When preparing a printed book, use the publishing service’s preview tools and review a physical proof before committing to the finished edition.
Limnforge prepares the book files; you still upload them to your chosen publisher or printer and complete its publishing process. That final review is worth taking seriously. A problem that is easy to miss on a large monitor may be obvious when you hold the book in your hands.
Beyond picture books
The same attention to character, setting and readable text also matters in comics. Panels add another creative decision: how much space each moment receives, and how the reader moves between them. Limnforge supports standard and angled panel layouts, adjustable dividers and editable panel shapes, together with narration, speech bubbles and Comic SFX.
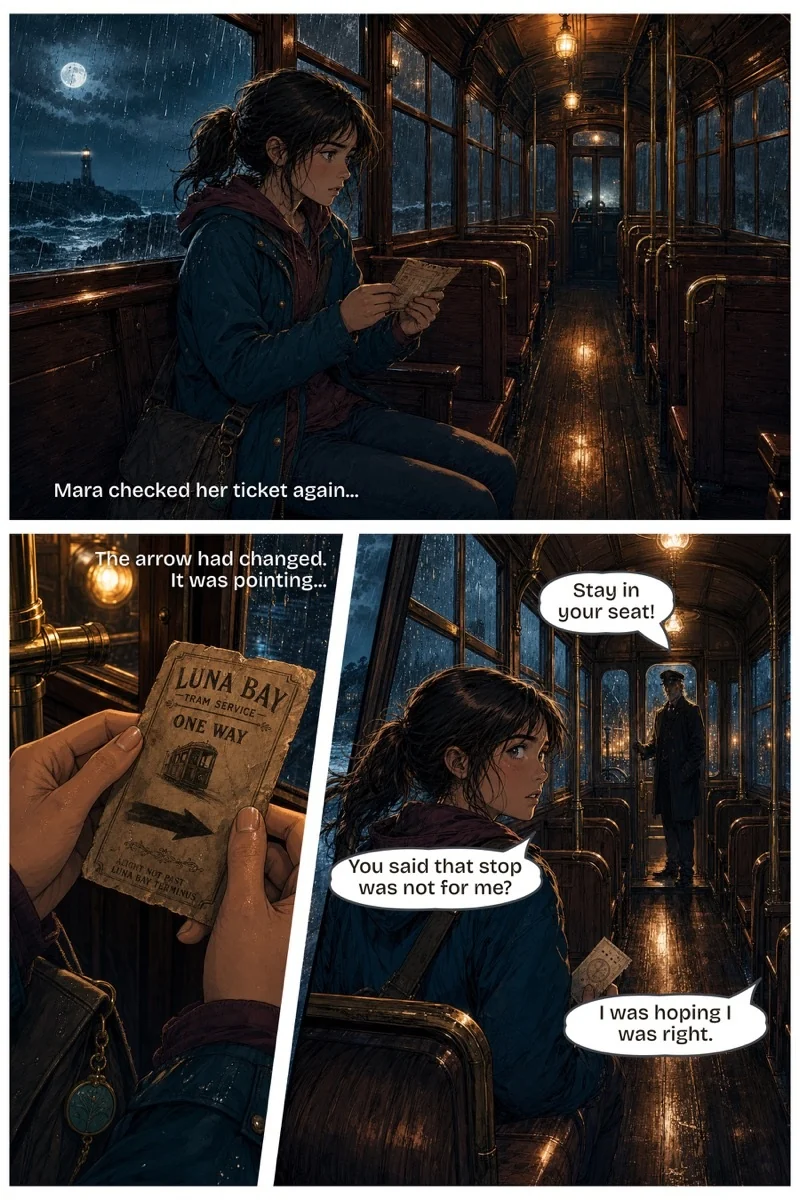
Here, the angled lower panels give the close-up and conversation different spaces within the same page. The panel tools also let you shape individual panels into irregular polygons. A dedicated comic-book article will explore those controls and the planning behind sequential storytelling in more detail.
Keep the whole book connected
You can create a picture book using separate tools for planning, image generation, lettering and layout. The challenge is carrying the same decisions through each stage without losing track of which character reference, page text or illustration is current.
Limnforge is designed to bring those stages together. Your manuscript, world rules, visual direction, character records, spread plans, artwork and text layers remain connected within the book project. Co-Pilot helps you develop the inputs with your chosen AI assistant, and the compiled prompts carry the relevant approved information into illustration requests.
At its regular US$299 price, Limnforge Studio is a tool you can keep using from one book to the next. You are not paying a monthly fee simply to open your work; annual Support & Updates is optional (and low cost) if you want continued help and newer versions. For someone planning several books, that works out at a fraction of the cost of repeatedly hiring out illustration and layout or maintaining a stack of creative subscriptions. It’s very cost-effective even for a single book.
Image-generation costs are also in your hands. Limnforge does not bundle image generation into a monthly software subscription or add a commission to OpenAI’s API charges. In the current version, you choose among Limnforge’s supported GPT Image models and use your own OpenAI API account, which bills you directly. You decide when to generate and how many images or refinements to request, so you control that part of your spend rather than buying a fixed image allowance from the software provider. Printing, publishing and any outside services have their own costs; you can decide which parts of the book to make yourself and where outside help is worthwhile.
To see how the process fits together, explore the Limnforge workflow and request the free Guide Pack. The Quick Start Guide provides a starting route, while the User Guide and Co-Pilot Work Orders Mini-Guide explain the tools in more detail.
Creating a children’s picture book with AI is a series of connected creative decisions. The story gives the pictures a purpose, the pictures give the words room to breathe, and careful review brings them into a book that feels like yours.